Looking to improve your shooting fundamentals? The Dot Torture drill builds precision, consistency, and control, with just 50 rounds and a target sheet.
Looking to sharpen your shooting skills? Learn what the Bill Drill is, how to do it properly, and why it remains a top-tier drill for speed and accuracy training.
Learn dry fire drills for handguns to sharpen your self-defense skills at home. Learn pistol dry fire routines & safety tips to elevate your firearm training.
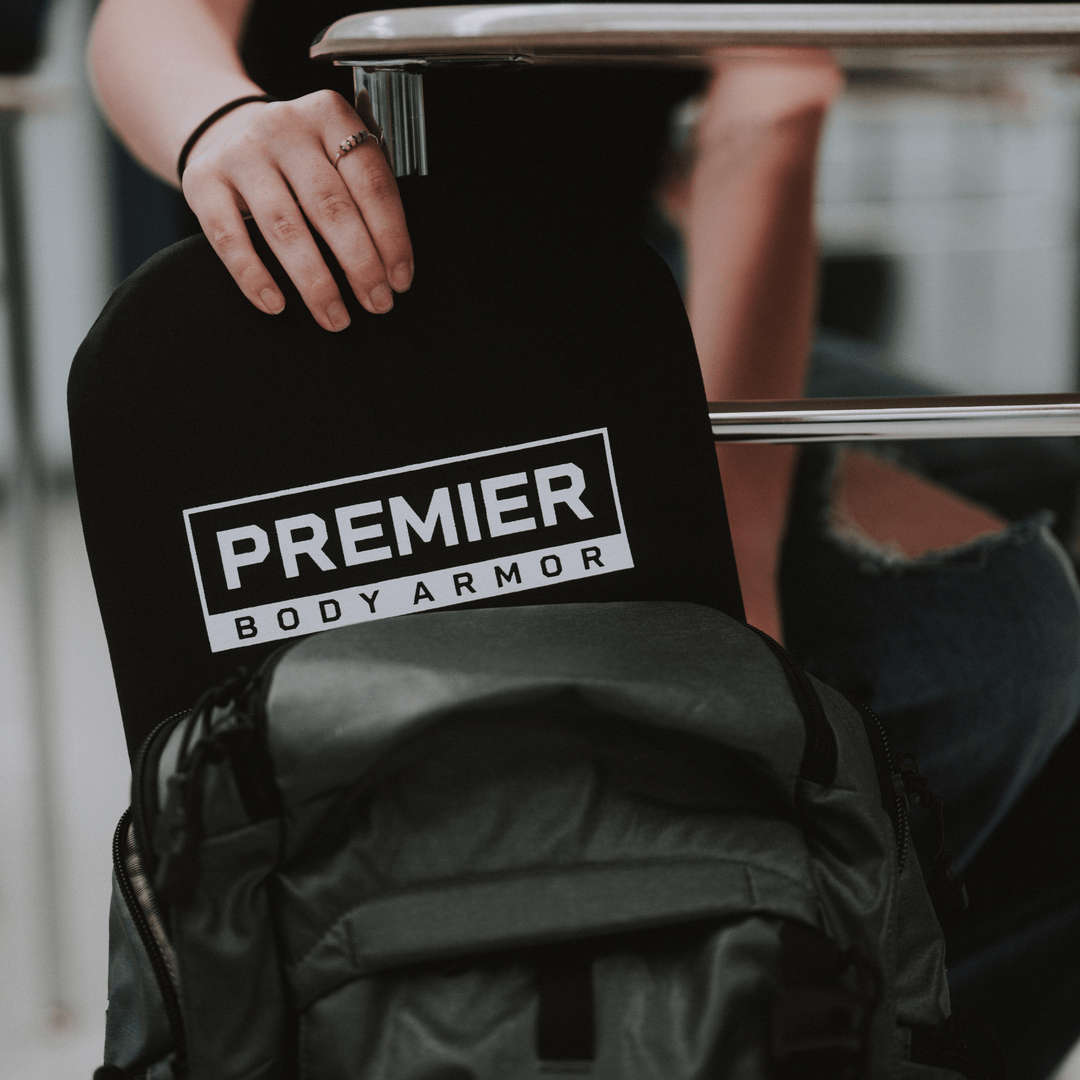
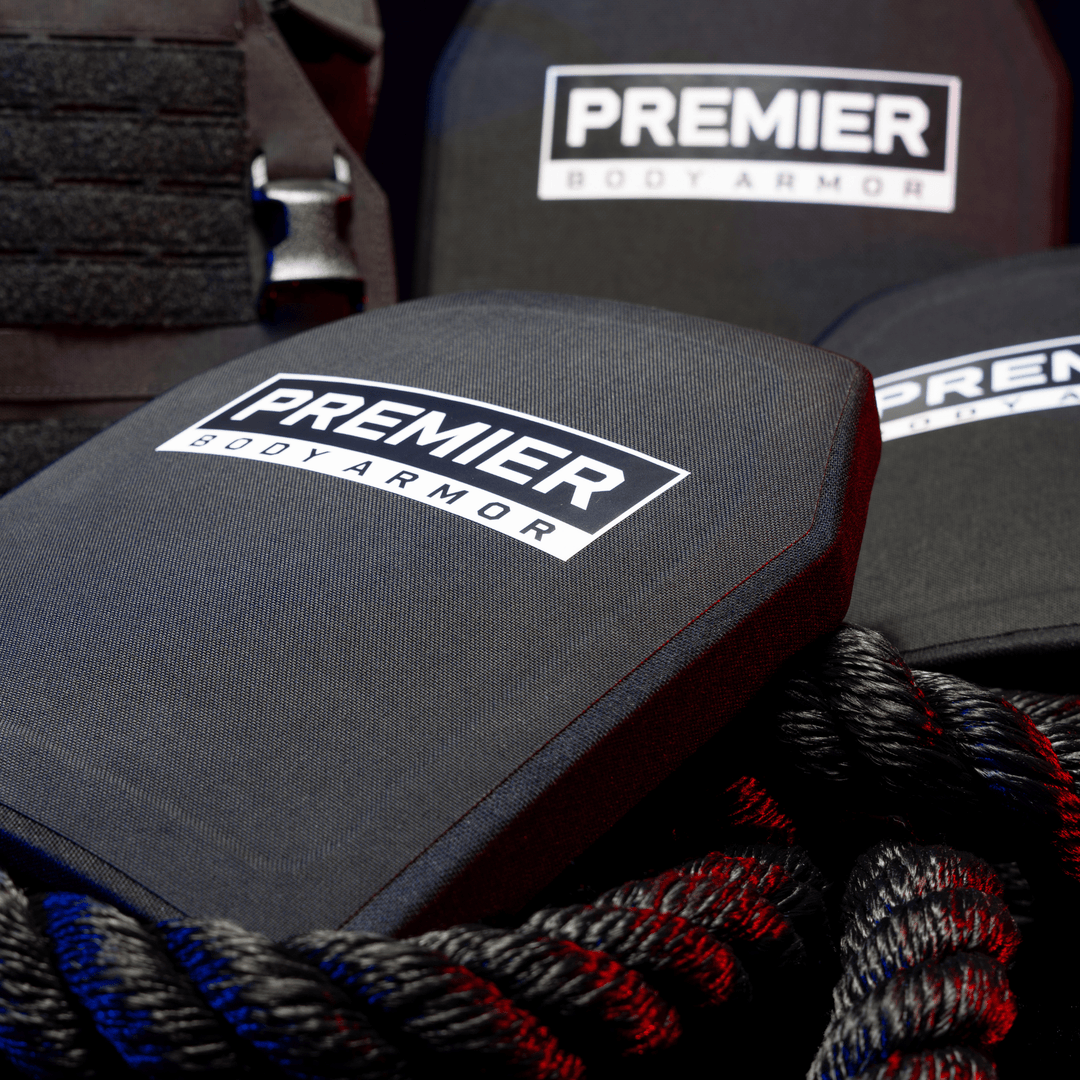
New product! Premier Body Armor’s custom cut Level IIIA inserts for Vertx Gamut 18L and 22L slings plus 22L, 26L, and 32L packs add low profile handgun protection, with armored bundles that save 10% on bag and panel together.
From locking doors & hiding valuables to parking wisely and using anti-theft devices, learn the best ways to secure your vehicle and prevent car break-ins.
Traveling solo? Discover essential safety tips for solo travelers – from planning to street smarts – so you can explore the world safely and confidently.
Explore Premier Body Armor's new pepper spray collection from POM and Fox Labs. Non lethal EDC options from keychain sprays to duty size cans for home defense.
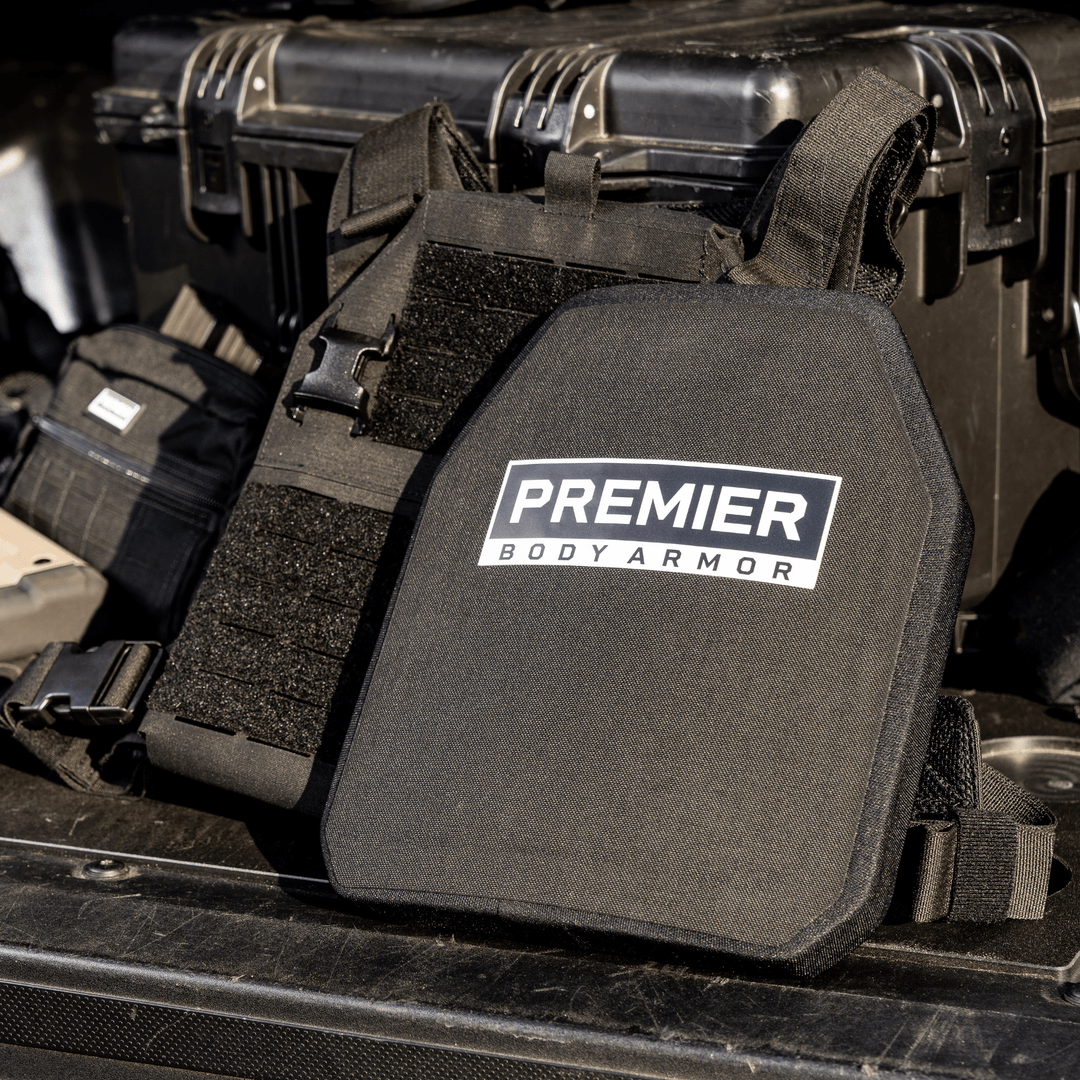
Premier Body Armor has launched the Ready Pack X Level IIIA Insert, a custom-fit ballistic panel engineered specifically for the newest Vertx bag, the Ready Pack X
Deciding between pepper spray or a taser for self-defense? Compare range, stopping power, ease of use, and legal restrictions to find out which is best.
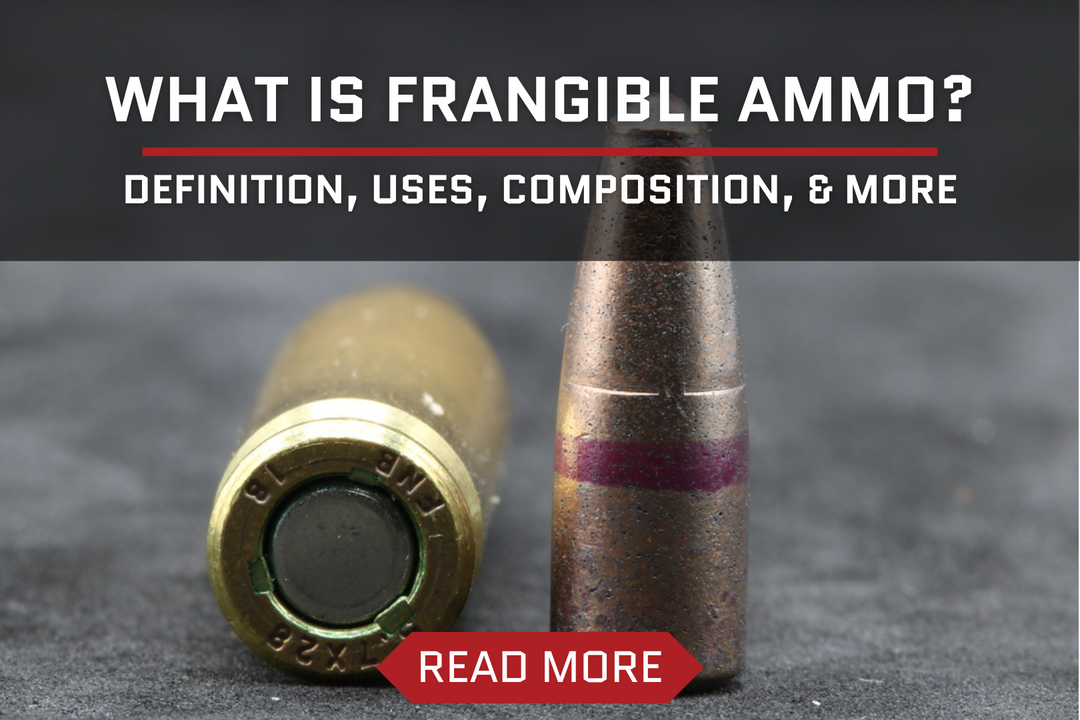
Learn about frangible ammo, its definition, uses, and legality. Discover what fragmented rounds are made of and whether they're suitable for self-defense.