
Dot Torture Drill: Master Shooting Accuracy One Shot at a Time
Looking to fine-tune your shooting fundamentals without burning through hundreds of rounds? The Dot Torture Drill is one of the most effective pistol accuracy drills for improving control, consistency, and shot placement, no fancy gear or high round count required. All you need is a handgun, 50 rounds, and printable dot torture targets available online.
Used by both new and experienced shooters, this dot drill challenges your ability to maintain mental focus and execute core fundamentals across multiple skills like trigger control, sight alignment, and reloads. Each dot requires a specific task, forcing you to slow down and apply precision under pressure. It can be a humbling drill even for experienced shooters, but then, that's the whole point.
In this guide, we’ll walk you through everything you need to get started with the Dot Torture Drill: how it works, what gear you need, step-by-step instructions, scoring tips, and dry fire variations. Whether you’re heading to the range or practicing at home, this is one drill that belongs in every shooter’s skill-building routine.
Dot Torture Drill At a Glance
Target: One 8.5" x 11" Dot Torture target with ten 2" circles, numbered 1–10.
Starting distance: 3 yards. Move back to 5 and 7 yards as you shoot the drill clean.
Round count: 50 live rounds per run.
Core skills tested: Sight alignment, trigger control, grip, one-hand shooting, draws, reloads, and transitions between targets.
Goal / passing standard: 50/50 hits inside the circles at your current distance before you move the target back.
The video below does a great job explaining how this drill is done. Don't forget to grab your printable dot torture drill target.
What Is the Dot Torture Drill?
The dot torture drill is a precision shooting exercise designed to sharpen core handgun skills with minimal equipment. At first glance, the drill looks simple: 10 small dots printed on a standard 8.5" x 11" sheet. But don’t let the name “dot drill” fool you; this routine is anything but easy.
Each dot has a specific task tied to it: controlled pairs, strong-hand only, weak-hand only, drawing from a holster, reloads, and more. In total, you’ll fire 50 rounds, and your goal is to hit every dot perfectly. Misses are counted, and each target serves as a diagnostic tool to reveal weaknesses in fundamentals like grip, trigger control, and sight alignment.
Unlike high-speed drills focused on movement or reaction time, the dot drill forces you to slow down and master the essentials. It’s ideal for both beginners building confidence and seasoned shooters looking to clean up sloppy habits.
History and Purpose of the Dot Drill
The dot shooting torture drill was created by firearms instructor David Blinder, and later popularized by Todd Green, to challenge shooters on the fundamentals, without needing a fancy range or dynamic setup. Its purpose is simple: test and improve your precision, consistency, and control through deliberate practice.
This slow, methodical drill forces you to focus on sight alignment, trigger press, and proper grip with every single round. Over time, it becomes a mental and physical exercise in discipline.
For more precision-focused drills, see our guide to low-light shooting drills.
How to Run the Dot Torture Drill
If you’re wondering how to do the Dot Torture Drill, the beauty lies in its simplicity. This classic pistol shooting drill involves firing 50 rounds at 10 small, numbered dots printed on a single 8.5x11-inch target sheet. Get a downloadable & printable target.
Each dot represents a different shooting challenge, like slow fire, strong-hand only, or draw-to-sight shots, making it an all-in-one diagnostic tool for your handgun fundamentals.
Start at 3 yards and shoot at each dot as instructed (you’ll find a detailed step-by-step breakdown below). Your goal is to hit inside the circles every time. Misses count against your score and reveal areas needing improvement.
Because of its structured layout, this drill helps track progress over time. You can also easily modify distance or tempo as you advance.
The Dot Torture Drill is best done at a pace where you can maintain control, focus, and consistency. Rushing will only reinforce bad habits: slow is smooth, and smooth is fast.
Whether you’re just starting out or looking to fine-tune your handgun skills, this drill is an efficient, low-cost way to get quality reps that translate to real-world accuracy and confidence.
What You’ll Need to Run the Drill
Running the Dot Torture Drill doesn’t require much gear, which makes it ideal for consistent practice. To get started, you’ll need the following dot torture supplies:
- A printed Dot Torture target sheet
- A handgun you're familiar with
- 50 rounds of ammunition
- A safe shooting range with a clear backstop
- A holster if you want to incorporate draw drills
- Optional: a shot timer or phone timer for tracking draw times
For added realism and muscle memory development, consider training with your everyday carry setup, including your holster and concealment garments.
Want to save ammo? You can also run this drill with snap caps or dry fire tools during at-home sessions, as long as you follow strict safety protocols and verify your firearm is unloaded.
Safety note: Always wear proper eye and ear protection and follow all range rules when running Dot Torture. Only practice drawing from a holster if you have prior training and your range allows it, and take extra care with one-hand and support-hand-only strings, especially on busy lanes. If anything feels unsafe at any point, stop, reset your setup, and slow the drill down until you’re fully in control.
By keeping your equipment minimal and your goal focused on control, the Dot Torture Drill becomes one of the most accessible and effective ways to develop precise shooting habits over time.
Dot Torture Drill: Step by Step Instructions
The Dot Torture Drill is a 50-round accuracy test and dot drill training routine that challenges multiple handgun fundamentals. The standard drill uses a target with ten numbered 2-inch dots arranged in a grid. Each dot corresponds to a specific task, which you must complete without missing.
How to run the Dot Torture Drill
| Dot | Task | Rounds | Primary skill |
|---|---|---|---|
| 1 | Slow, deliberate fire on Dot 1. Fire one well-aimed shot at a time. | 5 | Fundamentals, sight alignment, trigger control. |
| 2 | From the holster, draw and fire 1 shot on Dot 2, then re-holster. Repeat for 5 total shots. | 5 | Draw stroke, first-shot presentation. |
| 3–4 | From the holster, draw and fire 1 shot on Dot 3, then 1 shot on Dot 4. Re-holster and repeat for 4 total strings. | 8 | Target transitions, visual processing, throttle control. |
| 5 | From the holster, draw and fire 5 shots strong-hand only on Dot 5. | 5 | Strong-hand-only grip and trigger control. |
| 6–7 | From the holster, draw and fire 2 shots on Dot 6, then 2 shots on Dot 7. Re-holster and repeat for 4 total strings. | 16 | Recoil management, follow-up shots, transitions between targets. |
| 8 | From the ready, fire 5 shots support-hand only on Dot 8. | 5 | Support-hand-only grip and trigger press. |
| 9–10 | From the holster, draw and fire 1 shot on Dot 9, perform a speed reload, then fire 1 shot on Dot 10. Re-holster and repeat for 3 total strings. | 6 | Emergency reloads, draw-to-first-shot, transitions under pressure. |
| Total | Full Dot Torture drill at one distance. | 50 | Comprehensive fundamentals check and diagnostic. |
- Start at 3 yards. As you improve, move back to 5 or even 7 yards.
- Dot 1: Fire 5 slow, aimed shots.
- Dot 2: Draw and fire one shot. Repeat five times.
- Dot 3 & 4: Draw and fire one shot to Dot 3, then one to Dot 4. Repeat four times.
- Dot 5: Draw and fire five rounds, strong-hand only.
- Dots 6 & 7: Fire two shots on Dot 6, then two on Dot 7. Repeat four times.
- Dot 8: Fire five shots from the weak hand only.
- Dot 9 & 10: Fire one shot on Dot 9, reload, then fire one on Dot 10. Repeat three times.
Each missed shot is counted against your score. Total up your hits out of 50 to measure progress.
This drill rewards focus, patience, and tight fundamentals, making it a favorite among serious pistol shooters.
Scoring the Dot Torture Drill
Scoring the Dot Torture Drill is straightforward but deceptively revealing. The target features ten small circles, each with its own task, totaling 50 rounds. Your objective is to land every shot within the 2-inch dots. Any hit that touches outside the circle counts as a miss.
Each shot is worth one point, and your final score is out of 50. A perfect score means flawless execution of your shooting accuracy drills and serious control over your pistol.
Beginners may score in the 30s, which is completely normal. The goal isn’t just to pass; it’s to identify weak spots in your fundamentals. Missed shots will show you where you’re rushing, slapping the trigger, or losing sight alignment.
Traditionally, Dot Torture is treated as a pass or fail drill at a given distance. A true “pass” means 50 hits out of 50 shots inside the circles. Once you can shoot a clean 50/50 several times in a row at 3 yards, then you move the target back to 5 yards, and later 7 yards, while holding the same standard.
Using printed dot torture targets, you can track your progress over time. Circle or mark missed shots with a pen and make notes about what went wrong. With consistent practice, your shot groups will tighten and your scores will rise.
The Dot Torture isn’t about speed. It’s about discipline, control, and improving one shot at a time.
Dot Torture Drill Variations
Once you’ve mastered the basic Dot Torture Drill at 3 yards, it’s time to challenge yourself with a few smart variations. These progressions push your limits and sharpen your fundamentals even further, without needing more ammo.
Popular dot torture drill variations include:
- Increasing the distance: Step back to 5, 7, or even 10 yards to test your control under pressure.
- Adding time limits: Introduce a shot timer to simulate stress and decision-making under a clock.
- Strong-hand or support-hand only: Isolate each hand to improve grip and trigger press consistency.
- Shooting from concealment: Combine draw practice with accuracy to mimic real-world conditions.
One of the best ways to ease into these challenges is through dry fire shooting drills. You can run the Dot Torture with a laser training device or snap caps to rehearse mechanics before hitting the range. This approach builds muscle memory without wasting a single round.
Adding variation not only prevents boredom but also promotes growth. The more scenarios you work into your training, the better prepared you’ll be when it matters most.
When to Add Difficulty
Once you are shooting clean 50/50 scores on the Dot Torture Drill at 3 yards, across more than one range session, it is time to level up. Until then, stay at that distance and focus on tightening your groups and cleaning up any issues the target is revealing. Adding difficulty after you can reliably shoot the drill clean helps you avoid plateaus and prepares you for more dynamic shooting situations.
Start by increasing the distance or shrinking the target size. You can also introduce time constraints to simulate real-world pressure. Another option? Try shooting the drill one-handed or from different carry positions.
These challenges mimic the unpredictability of defensive shooting and force you to fine-tune every movement. If you're ready for the next step, check out The Bill Drill, one of the top advanced shooting drills for building speed and control under stress.
Practicing Dry Fire
The Dot Torture Drill isn’t just for the range. It’s also excellent for dry fire training at home. Dry fire lets you rehearse each movement without using live ammo, helping you build muscle memory for sight alignment, trigger control, and draw technique.
Set up your dot torture targets in a safe, distraction-free area. Confirm your firearm is unloaded and remove all live ammunition from the space. Run through the same drill structure: slow, deliberate reps focused on precision.
This is especially useful for mastering the low ready position, draw-to-sight transitions, and trigger press mechanics. Check out our guide on Low Ready Position for best practices on starting your dry fire from a realistic defensive stance.
Common Mistakes to Avoid
Like any precision exercise, the Dot Torture Drill can expose weak points in your fundamentals. Improving your pistol accuracy means recognizing and correcting these common mistakes:
- Jerking the trigger: One of the biggest culprits of missed dots. Focus on a smooth, consistent press.
- Poor grip pressure: Too loose, and your muzzle moves. Too tight, and you tremble. Find a balanced grip.
- Eye fatigue: Losing your front sight focus leads to drifting groups. Take breaks as needed to stay sharp.
- Rushing: This is a test of control, not speed. Going too fast often leads to sloppy hits or outright misses.
When practicing in low-light conditions, these issues are amplified. For tips on shooting under pressure and visibility challenges, visit our Low-Light Shooting Drills guide.
Start Training Smarter with Dot Torture
If you’re serious about pistol training, the Dot Torture Drill is one of the most effective, low-cost ways to boost your performance. Unlike high-speed drills that require advanced setups, this drill strips things down to what matters most: precision, consistency, and self-diagnosis.
It’s not about how fast you can shoot. It’s about whether you can land accurate hits while managing your trigger, sights, and grip. And with just 50 rounds and a printed target, it’s also one of the most accessible handgun drills for any skill level.
Make it part of your weekly rotation and track your progress. Whether you're prepping for a qualification or tightening your EDC fundamentals, the Dot Torture Drill builds the kind of accuracy that pays off in real-world situations.
Training Journey:
Start with: Dot Torture for fundamentals
Next: Bill Drill for speed under pressure
Then: Low-light drills and malfunction drills once you are confident
Dot Torture Drill FAQ
What distance should I shoot the Dot Torture Drill at?
Most shooters start the Dot Torture Drill at 3 yards. Once you can consistently shoot a clean 50/50 score at 3 yards, move the target back to 5 and then 7 yards to increase difficulty.
What is a passing score on the Dot Torture Drill?
The classic standard is 50 hits out of 50 shots inside the circles at your chosen distance. If you’re new to the drill, expect your first few runs to land in the 30-40 hit range, then work toward a clean score before pushing the target farther back.
Is the Dot Torture Drill good for beginners?
Yes, Dot Torture is an excellent drill for newer shooters as long as you run it slowly and safely. There is no built-in time limit, so beginners can focus on sight alignment, trigger control, and safe gun handling instead of speed.
Should I shoot Dot Torture from concealment or from an open holster?
Most people start the drill from low ready or from an open holster, depending on range rules and their experience level. Once you can safely draw and re-holster and your range allows it, you can run the drill from your everyday concealment setup to better match real-world carry.
How often should I run the Dot Torture Drill?
Many shooters work Dot Torture into their regular range routine once or twice a month as a fundamentals check-up. If you’re actively trying to tighten your groups, running it more frequently with the same gun, distance, and target lets you track progress over time.
Can I do the Dot Torture Drill with dry fire?
Yes, Dot Torture works very well as a dry fire drill at home. You can use printed targets, snap caps, or a laser training tool to rehearse the same course of fire without burning ammo, as long as you follow strict dry fire safety and verify the gun is unloaded.
Ready to Take Your Accuracy to the Next Level?
Mastering precision starts with purposeful practice, and Dot Torture is a solid way to keep your fundamentals honest.
To really “train like you fight,” run this drill with the same pistol, holster, and concealment setup you rely on in real life. If armor is part of your home-defense or duty plan, work it in there too.
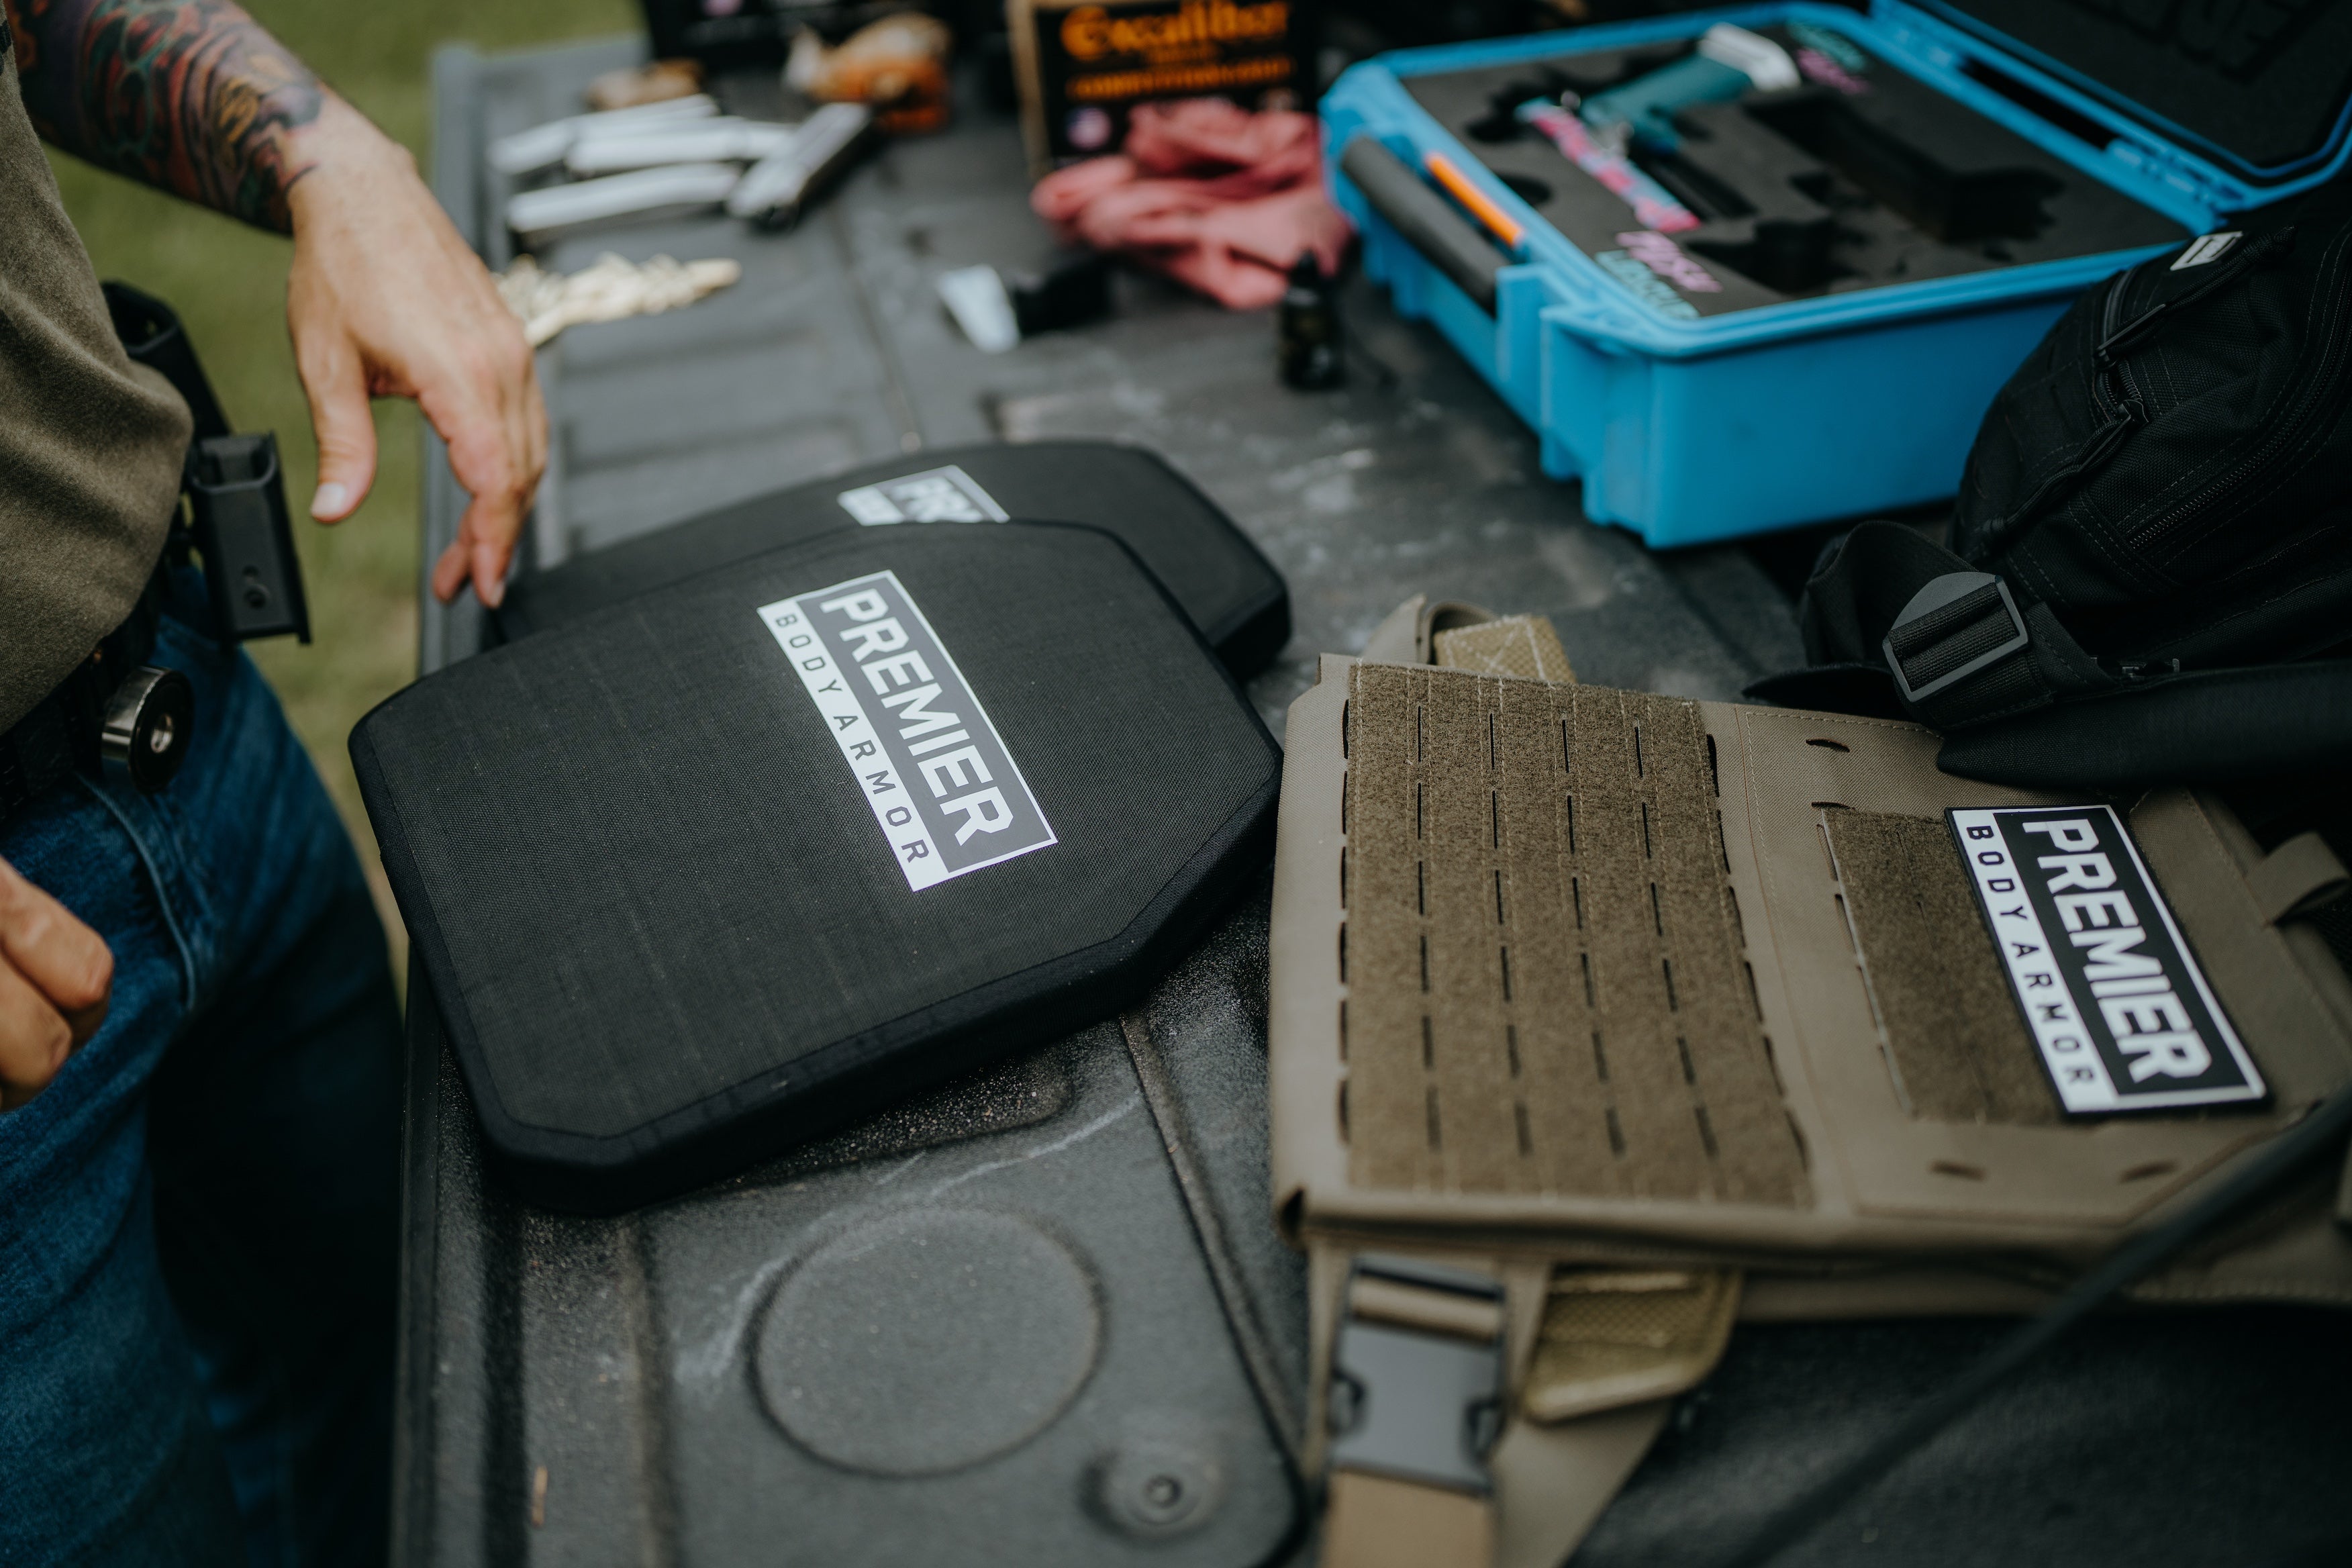
Our plate carriers and pre-built loadouts (carriers paired with matched rifle-rated plates) let you practice in the same armor configuration you’d grab when something goes wrong, instead of treating armor as an afterthought.
Explore Premier Body Armor’s plate carriers and loadout collection to build a range-ready setup that matches how you actually carry and fight.


Leave a comment